Serving Renton, Seattle
the East Side & Beyond!
the East Side & Beyond!
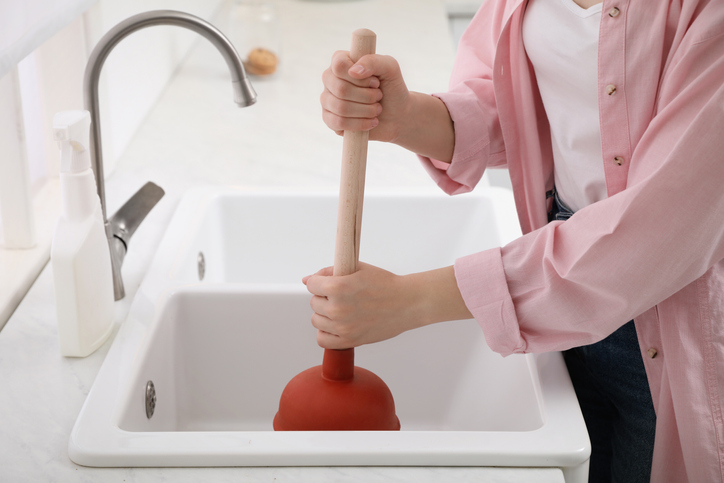
If your kitchen sink is draining really slowly or refuses to drain at all, then you’ve probably got a clogged sink drain on your hands. Clogs tend to form in kitchens as grease and food remnants build up in the drain over time. Fortunately, unclogging a sink with a plunger can be fairly simple if you use the right technique.
Below, we’ll provide step-by-step instructions for how to unclog a single bowl sink or double bowl sink with a plunger.
Note: For your health, never use the same plunger for both your sink and your toilet. Keep a cup plunger for sink clogs and a flange plunger for toilet clogs.
For sinks with a garbage disposal, you’ll need to determine if the clog is in the garbage disposal unit or in the drain pipe.
Turn on the disposal. If the disposal hums and doesn’t turn, then there’s clog in the disposal unit.
Go to your circuit breaker panel, and switch off the circuit breaker to your garbage disposal.
Back in your kitchen, double-check that your garbage disposal is off by trying to turn it on. The disposal should not move, and it should not make any noise.
Lie down underneath your sink so that you can see and access the bottom of the disposal unit. Look for a hole that looks like the head of a hex-head bolt in the center of the unit.
Place an Allen wrench inside this hole and turn it from side to side until you feel a decrease in resistance and are able to rotate the wrench completely in a single direction. This action rotates your disposal’s blade manually.
Put the wrench aside, and press the disposal unit’s reset button or switch.
Flip your garbage disposal’s circuit breaker switch back on, and turn on the unit to see if the obstruction has cleared. If it hasn’t, repeat the steps above until the obstruction is removed.
If you have a double bowl sink, seal one side of the sink with an airtight lid or a second plunger before plunging the other side. Otherwise, you won’t be able to create adequate suction.
Place the cup of the plunger completely over the drain opening.
Turn on the faucet, and let the water run until it completely covers the cup of the plunger.
Start plunging by pushing the plunger down and pulling up again in order to build up suction. Make sure that the edges of the plunger stay in contact with your sink, or else you’ll lose the suction.
If you have trouble forming a seal between your sink and plunger, add petroleum jelly to the mouth of your plunger, and try again.
Plunge about five or six times before removing the plunger to see if water starts to drain properly. In some cases, you’ll even be able to feel the clog become dislodged while you plunge because suddenly there will be much less resistance. Repeat the plunging process until the clog clears.
Once water is draining properly again, run hot water down the drain for 5 minutes to help clear away grease, grime, and debris from the clog.
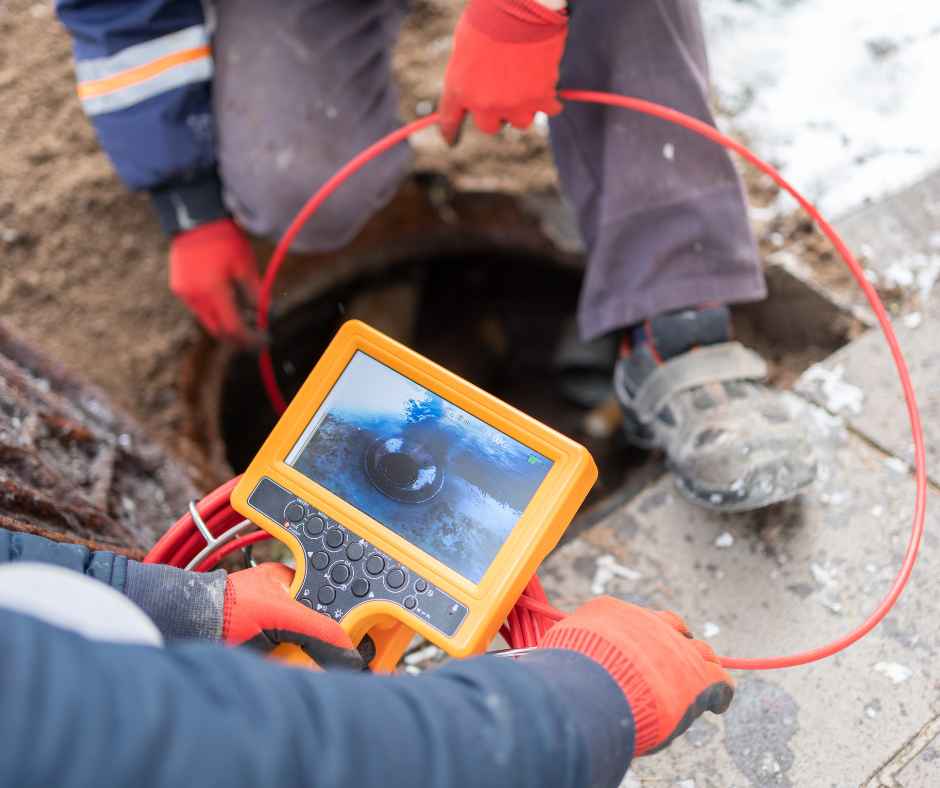
If you just can’t seem to plunge away a clog, or if there are multiple clogged drains in your home, it’s best to contact a plumber regarding drain cleaning services. While plunging can help you out in a pinch, drain cleaning can actually be both a solution to clogs as well as a form of preventative maintenance for your plumbing, clearing away obstructions before they become leak-causing clogs.
Contact The Plumbing Joint to learn more about our King County drain cleaning services. We are based in Renton and also serve Pierce and Snohomish Counties.